To magnify an image thoroughly for observation, a microscope must be used on microscopic organisms and substances. Viewing transparent items that can fit on a microscope slide is frequently done in a compound light microscope.
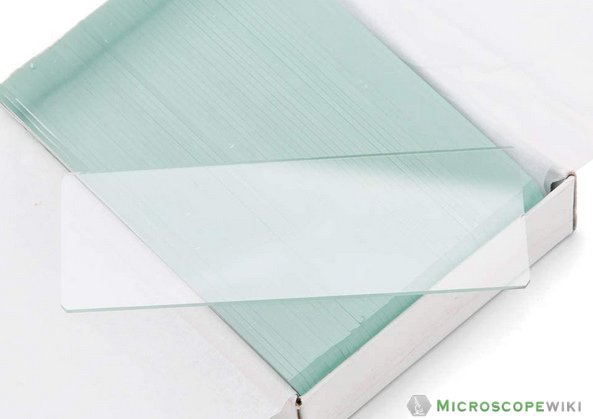
An array of tiny specimens can be held on a thin, rectangular glass plate known as a microscope slide.
Why it is called Slide?
It’s called that way because The kind of specimen you are examining will determine the best technique to prepare a microscope slide. A “slider” built of ivory or bone, carrying samples held between disks of clear mica, was the precursor of today’s microscope slide.
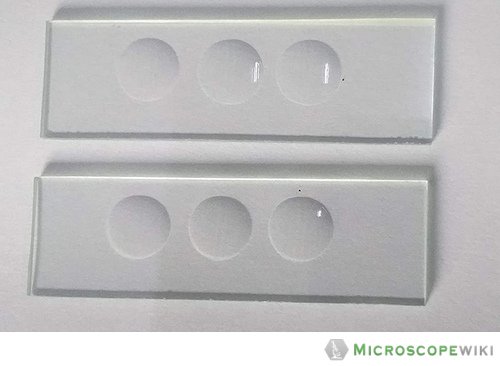
Before the Royal Microscopical Society introduced the standard microscope slide, which is a thin sheet of glass used to hold items for examination under a microscope, these were common in Victorian England. A typical microscope slide is 75 x 25 mm (3″ X 1″) and around 1.0 mm thick. There are a variety of additional sizes available for unique applications.
Different types of Microscope Slides
A variety of microscope slides prepared depending on a particular use. Microscope slides price varies too. It depends on the amount of preparation needed to prepare the slide and its overall functions or usefulness. A few of these include the following:
Temporary Microscope Slides
The temporary microscope slides functions are for quick observations. They are thrown away following the observation period. The slides typically require a liquid mounting media, such as water. However, cover slides can be taken out and sanitized for reuse.
Dry Mounted Microscope Slides

image created with biorender
- A slide may or not have a coverslip placed on top of it. It is called dry mounted microscope slide because it is used for studying dry specimens like hair or pollen.
- There is no mounting material at all when using dry-mounted microscope slides.
- On top of the dry specimen, which is encircled by air, is the cover glass.
- If the specimen and the mounting medium are chemically incompatible, these may be useful.
- A dry mount can be used to study pollen and spores.
- Dry mounts, however, result in images of inferior quality.
- This is a result of the specimen and surrounding air having very different refractive indices.
Wet Mounted Microscope Slides
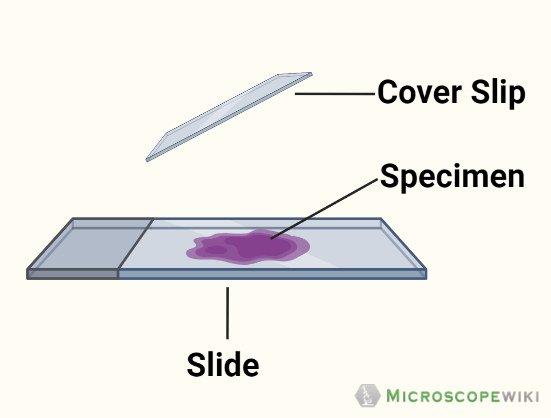
Image created with biorender
To see cells, a specimen is mounted on a small drop of water on a slide and covered with a coverslip. Many items that are going to be examined under a microscope are wet-mounted using water. When a permanent slide is being prepped for viewing and storage, additional materials are used.
- In a wet mount, the sample is positioned in the middle of the slide, covered with the cover glass, and drops of water. In certain cases, the thing being prepped for viewing is enclosed in water.
- The cover glass is added once the sample and water have been mixed on the slide.
- The cover glass must be placed with one side touching the slide and at an incline to the slide must be lowered as if it were aligned there.
- If done the proper way, the water will remove trapped air out leaving no bubbles inside the container.
- Although a single bubble might be allowed, examining the specimen will be challenging if there are many of them.
- The cover glass will remain firmly in place due to the strong adhesion between the liquid and the glass. Typically, just one drop of water is needed.
- Too much water will cause issues because it’s necessary for the coverslip to be attached to the slide.
- An issue will arise if there is an excessive amount of water present since much weaker cohesive forces will be required to secure the coverslip to the slide.
When the slide is transferred to the microscope’s stage, where it is kept in place by stage clips there shouldn’t be any extra water, and the coverslip should stay in place.
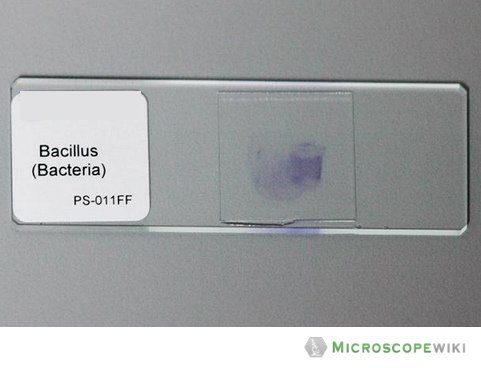
Heat Fixed Slides
Source: Scienceprofonline.com
- A cover glass is not necessary for this microscope slide.
- The microorganism being examined is suspended, and the water can evaporate at normal temperature.
- The slide is then heated by being passed through a gas flame. The cells adhere to the slide.
- The 100x oil immersion objective is used to monitor the bacteria while immersion oil is immediately applied to the slide.
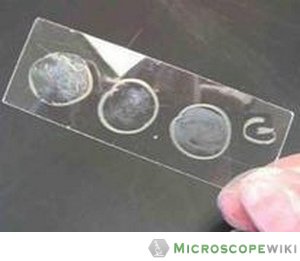
Prepared Microscope Slides
Source: lab-aids.com
This kind of slide has been expertly prepared and is durable. You can buy a variety of prepared microscope slides.
Graticule Microscope Slide

Source: comaroptic.com
A graticule slide is marked with a grid of lines that makes it simple to gauge the size of things visible under magnification. These grids are possibly used more frequently in counting drills.
Concave Microscope Slide
Concave slides are also available. This concave slide is different from a flat slide in that it does not need a coverslip and features an indentation to hold a quantity of liquid for viewing. For observing a liquid sample, such as pond water, a concave slide is useful.
Permanent Microscope Slide
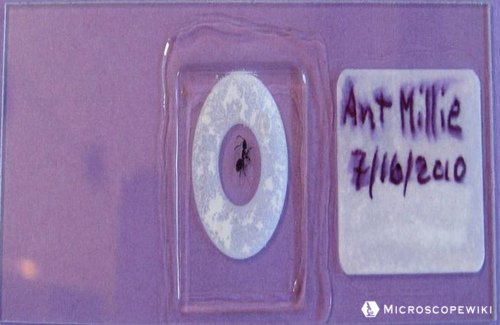
Source: scitoys.com
- Permanent microscope slides can be prepared well ahead of the slide’s intended use and will only include dead specimens.
- A specimen is locked inside a resin seal produced by the evaporation of a solvent by a permanent slide.
- Permanent microscope slides come in a variety of varieties, each identified by a different acronym.
- The abbreviations “wm” and “ls” stand for whole mount and “cs” for cross-section, “sq” for squash preparation, and “st” for the stained specimen.
- Organisms that have been stained can be alive or dead, are frequently easier to see, and can be utilized for both temporary and freshly prepared slides.
How do you choose a microscope slide?
When it comes to choosing a microscope slide, there are a few things you need to consider and these are the following:
- Make sure you have top-notch quality glass slides and cover slips.
- Choose a microscope slide that perfectly fits the microscope you are using as well as designed to suit the kind of examination you are doing.
- Choose the right slide mount and mounting medium.
- Make sure it is compatible with the stain you are using to bring out the desired features.
Commonly encountered problems when handling microscope slides and their solutions
The cover slip has too much liquid
- On a glass slide, the cover glass can move around easily and could even fall off if the slide isn’t held level.
- Repeat until the cover glass adheres to the slide by touching the edge of an absorbent paper such as a tissue or a paper towel to any excess water at the edge of the coverslip.
Presence of air under the cover slip
- The reason for this is that there is an increase in the amount of water by 1 drop, or the cover glass was dropped wrongly onto the specimen.
- Water will be absorbed under the cover glass if a drop of water is added to the slide at the glass’s outer edge It is advised to start anew if there are still lots of visible air spaces.
The cover slip does not lay flat on the specimen
- The cover slip is not falling down far enough to cling to the slide, possibly because of the specimen or because of anything in the sample such as a grain of sand.
- This slide will be hard to concentrate on. It’s possible that the specimen wasn’t sliced thinly or uniformly.
Remove any grains if any are present, then remount the specimen. Dust or fingerprints that have already been on the slide could have an impact on your results.
Dust specks and microscopic scratches can be unbearable issues in the context of dark field microscopy. In these circumstances, the aqueous specimen might be supported and covered with freshly-cleaved mica rather than glass.
References
- https://en.wikipedia.org/wiki/Microscope_slide
- https://www.marienfeld-superior.com/information-about-our-microscope-slides.html
- https://www.marienfeld-superior.com/information-about-our-microscope-slides.html
- https://www.microscope-detective.com/microscope-slides.html
- https://www.cnascientific.com/ultimate-guide-to-microscope-slides/
- https://www.microscopemaster.com/microscope-slides.html
- https://www.sciencedirect.com/topics/nursing-and-health-professions/microscope-slide
- https://www.homesciencetools.com/product/biology-microscope-slide-set/
- https://www.allthescience.org/what-are-the-different-types-of-microscope-slides.htm
- https://amscope.com/blogs/news/using-prepared-microscope-slides-benefits-and-more